
Start with the setting and the people who will use the microphone. A media team covering indoor meetings may need a different format from a crew working outside at community events. Note whether the microphone will be held close to a speaker, passed between interviewees, or mounted near a presenter. The holder matters as well. A compact flag may be easier for a smaller hand to control, while a larger face may remain visible from farther away. Write these details into a short production brief before requesting artwork. That document can prevent a design made for a studio interview from being ordered for field reporting.
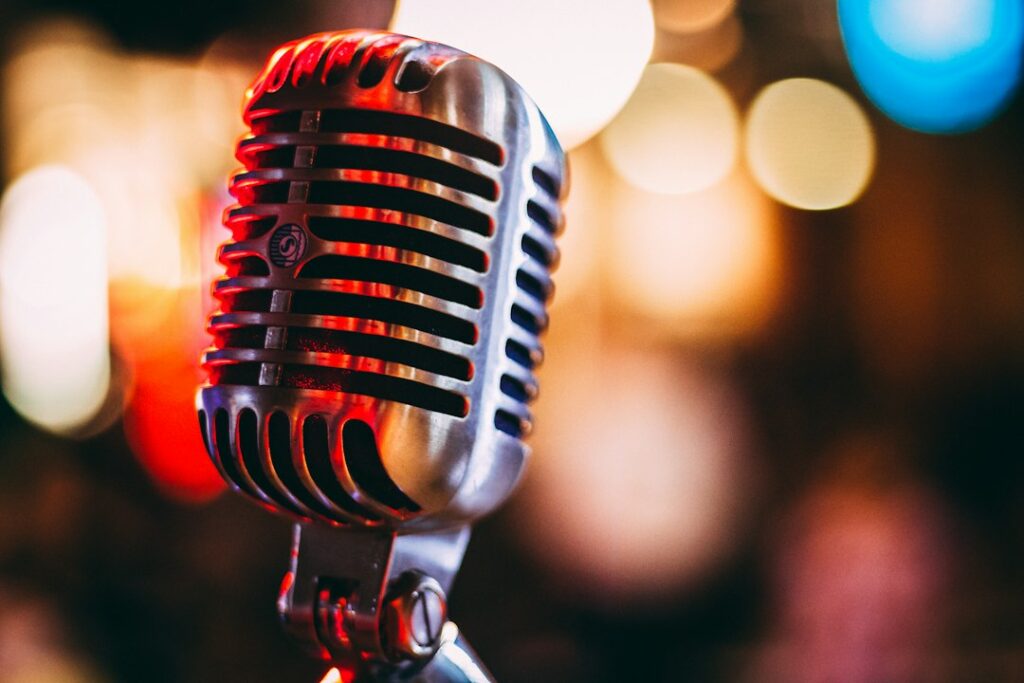
The microphone itself sets practical limits. Check the handle shape, the available space below the microphone head, and any controls or switches that must remain accessible. Some flags sit around a straight section of the handle, while other designs use a different attachment method. The supplier needs accurate measurements or a clear photograph with a ruler beside the microphone. Do not assume that a flag made for one handheld model will fit another. A test fitting with the actual microphone can reveal interference with cables, buttons, a shock mount, or the presenter’s grip before the full order is produced.
Shape affects what the camera sees. A cube can offer several visible faces as the microphone turns, while a flatter flag may suit a tighter space or a particular mounting arrangement. Consider the distance between the microphone and the lens rather than judging the item only from arm’s length. A logo that looks clear on a computer screen may lose fine lettering in a wide shot. Keep the main mark large enough for the intended framing, use strong contrast, and leave sufficient space around it. A useful habit is to place the artwork into a still frame from a previous interview and inspect it on a phone, not just on a large monitor.
Artwork preparation deserves the same care as the physical dimensions. Supply the correct logo file, confirm the approved colours, and check whether the design will appear on one face or several. If the flag can rotate during an interview, printing across multiple faces may improve the chance that a camera sees the mark. That decision should follow the likely hand position and camera angle, not a blanket assumption that every face needs identical treatment. Before production, review a proof for spelling, spacing, colour balance, and orientation. A second person should compare it with the current brand guide, because an old file can remain in a shared folder long after the identity has changed. You can compare branded mic flags while assessing those format and artwork choices.
The presenter’s grip can either support or obscure the branding. During a rehearsal, ask the interviewer to hold the microphone in the same way used on location and record a few seconds of test footage. Check whether fingers cover the logo, whether the flag sits too close to the speaker’s mouth, and whether the microphone is angled consistently between questions. A simple instruction such as keeping the printed face toward the camera can help, but it should not make the interview feel stiff. If several people will conduct interviews, include the test in the usual briefing rather than relying on everyone to notice the issue independently.
Lighting and background also affect visibility. A light face can blend into a bright wall, while a dark face may vanish against clothing or a shaded entrance. Review the flag under the lighting normally used for the work, including window light, overhead office lighting, and outdoor shade. Glossy surfaces can produce reflections from a nearby lamp or window, so ask how the chosen finish will behave in the intended setup rather than selecting it from a catalogue image alone. The goal is a readable mark that remains secondary to the speaker. It should identify the production without distracting viewers from the answer being recorded.
After delivery, add the flag to the same equipment check used for batteries, memory cards, cables, and release forms. Inspect the printed faces for scuffs, confirm that the attachment remains secure, and keep the item in a pouch so it is not crushed in a camera bag. If the microphone is shared between crews, note the correct fitting method in the kit record and clean the surface according to the material guidance. For teams comparing custom microphone branding, the useful questions are specific: which microphone will carry it, how far away will the camera be, who will hold it, and what artwork can be approved before production begins.